When to plant in Michigan, what to grow, and how to set your garden up for success this season.
After a spring full of …
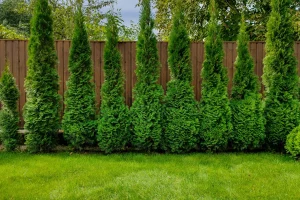
When it comes to creating privacy, defining property lines, or adding year-round beauty to your landscape, few plants are as popular as arborvitae. Their tall, narrow growth habit makes them an excellent choice for privacy screens, windbreaks, and natural borders. With the right planting techniques, arborvitae can establish quickly and provide decades of lush green coverage.
Whether you’re planting a single specimen or creating an entire privacy hedge, following a few simple steps will help your trees get off to a strong start.
Arborvitae are among the most versatile evergreen trees available. They offer:
Before planting, choose a location that receives full to partial sun and has well-drained soil. Be sure to account for the mature width and height of the variety you’ve selected to avoid overcrowding as the trees grow.
If you’re planting multiple arborvitae to create a privacy hedge, skip the individual planting holes and dig one continuous trench instead.
A trench allows you to:
For most arborvitae varieties, space the trunks approximately 3 to 4 feet apart, depending on the mature size and desired level of privacy.
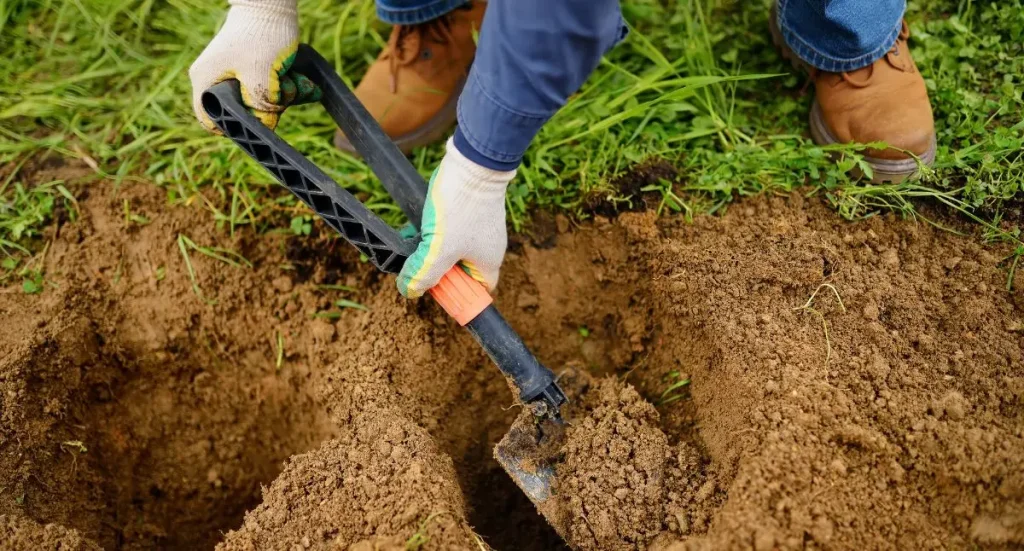
Step 1: Dig the Trench
Start by creating a trench that is approximately two inches shallower than the height of the root balls.
As you dig, place the excavated soil on a tarp nearby. This keeps your work area organized and makes backfilling easier once the trees are in place.
Pro Tip: Planting slightly high helps prevent the root ball from settling too deep over time and improves drainage around the roots.
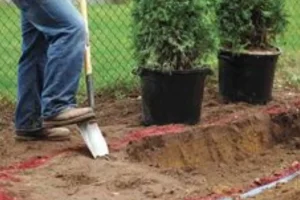
Step 2: Prepare and Position the Trees
Carefully remove each arborvitae from its container or burlap wrapping.
Before placing the tree into the trench, gently loosen or tease the outer roots. This encourages the roots to grow outward into the surrounding soil rather than continuing to circle within the root ball.
Set each tree into the trench, checking that they are straight and evenly spaced.

Step 3: Backfill and Build a Watering Basin
Fill soil around each root ball until it is firmly supported.
Leave the top two inches of each root ball exposed above the surrounding soil. Then use extra soil to create a small berm or “soil dam” around each tree.
This basin will help direct water toward the roots during the critical establishment period.
Step 4: Water Thoroughly
Proper watering is one of the most important steps in successful arborvitae planting.
Fill each soil basin with water and allow it to soak into the root ball. Once the water has drained, fill the basin a second time.
This deep watering helps eliminate air pockets and ensures moisture reaches the entire root system.

Step 5: Finish with Mulch
After watering is complete, rake away the temporary soil dams and apply a layer of mulch around the base of each tree.
Mulch helps:
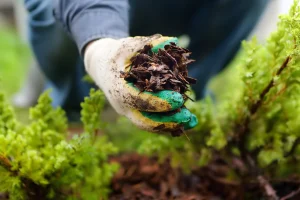
Keep mulch a few inches away from the trunk to prevent moisture buildup and potential disease issues.
Planting arborvitae correctly from the beginning can make all the difference in how quickly they establish and thrive. By using a trench planting method, maintaining proper spacing, watering deeply, and applying mulch, you’ll create the ideal conditions for a healthy, dense privacy screen.
With a little preparation now, you’ll soon enjoy the beauty, privacy, and year-round greenery that arborvitae provide.